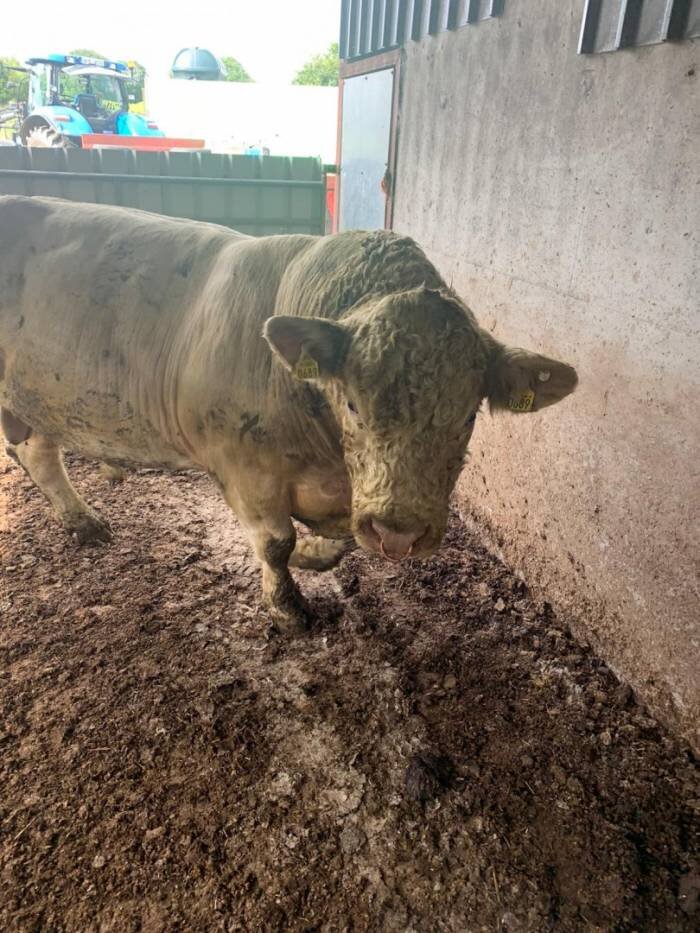
Market Your Cattle With Better Photographs
As the old saying goes, “a picture is worth a thousand words”, and a bad picture can say many negative things about your cattle, which may not be true. If you are trying to sell cattle, does the photo which you are putting in the ad or on social media encourage potential buyers to contact you about buying your cattle, or does the photo make the cattle look so bad that they won’t bother to contact you? Do the photos encourage viewers to say “I want one of those!”
Or will they say “Why would I want cattle that look (or act) like that?”
Top end producers know the advantage of having flattering photos which is why they hire a professional animal photographer; but if you are taking your own photos, you can enhance the eye-appeal of your cattle. It’s not necessary to be a great photographer to have better photos, but it is necessary to take a few extra minutes to look at the surroundings, decide on a good angle of view, wait for a reasonable pose, and then take multiple photos so that you will have a variety to choose from. With animals, the hard part is getting them to stand in a reasonable pose in a setting that’s not too cluttered. If you manage to get a reasonable picture of an animal in a good pose, then a few easy, basic photo editing adjustments can be done to improve the photo. Alternatively, if the pose is terrible then it’s unlikely that any amount of photo editing will help clinch a sale or enhance your online page.
Steps to a good photo:
#1. Consider your potential buyer/market—commercial operator, vs small family farm, vs freezer meat buyer, vs ? Highlighting a beefy rear end might appeal to a commercial buyer, while “cuteness” or “docility” may sell to a small acreage farm family, or an udder photo to a small dairy.
#2. Look at the animal(s) and ask yourself:
a. Is this animal (or group) in reasonable body condition?
b. Is one side of the animal cleaner/more presentable?
#3. Choose an area and direction which give a less cluttered or more picturesque background.
a. Check the lighting source & direction—try to avoid really dark shadows.
b. Can you easily see the entire animal, or is it partly hidden or deeply shadowed?
#4. Wait for a reasonably good pose.
a. Are feet & legs positioned in a good stance?
b. Is head up, down, or turned away?
c. Are you positioned for a good side view, or is it an odd angle which makes the head look abnormally large while the rear end looks small and scrawny?
#5. Snap multiple photos over a period of several minutes, because most will have major “issues”.
#6. Review the photos, and reject the really bad ones.
Look closely at the animal in your photo. Many cattle photos will need to be rejected because of transient problems: head turned away, mouth open from chewing cud, tail flicking at an odd angle, stance of rear legs making them look too straight/post legged, or odd bend to front leg, etc.
#7. Do a few simple photo edits on your phone, or on your computer.
a. Crop the photo to eliminate unnecessary or distracting background.
b. Adjust the photo lighting/exposure to brighten it if it’s too dark.
c. Increase the contrast slightly if there is glare or the colors look washed out.
d. (Many additional editing steps can be done to enhance a photo, but they are beyond the scope of this article.)
#8. Finally, ask yourself: “Does this photo do justice to what I’m trying to sell and entice prospective purchasers to call or email me about this animal?”, or do I need to start over to get a better picture? Spending a little more time on obtaining a better photo may allow you to obtain a higher selling price for that animal!
Author Profile: Susan Schallberger
Dr. Susan Schallberger is a (mostly) retired veterinary radiologist & ultrasonographer. She is the Office Manager and the Website Pages Creator for the Heritage Shorthorn Society. While Sue is not a professional photographer, she spends considerable time evaluating and upgrading the many photos which are used on the HSS website. Sue and her husband, Joe, raise Heritage Shorthorns in Western Oregon.


